Leia learns a lesson from an unlikely source in Doctor Aphra #7.
This article contains plot details for Doctor Aphra #7, The Screaming Citadel Part III.

Doctor Aphra #7 – The Screaming Citadel Part III
Writer: Kieron Gillen | Artist: Andrea Broccardo | Colorist: Antonio Fabela | Letterer: VC’s Clayton Cowles | Cover: Marco Checchetto | Assistant Editor: Heather Antos | Editor: Jordan D. White
Escape from the Citadel
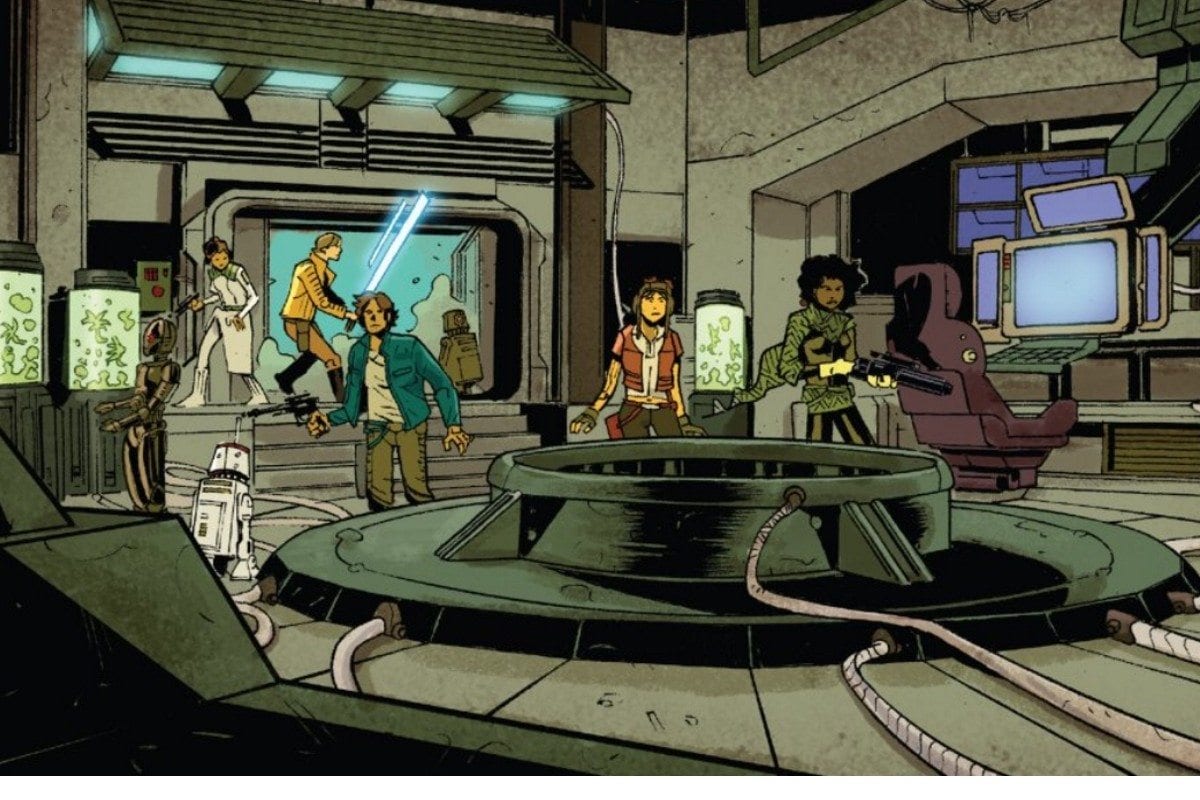
Doctor Aphra #7 continues The Screaming Citadel crossover event. This is part three. The story resumes with Luke and Aphra fleeing from the strange Queen of the citadel, her guards and servants, and a flock of monsters. They just discovered the Queen utilized Abersyn symbiotes to control the population of her planet. Han Solo, Princess Leia, and Sana Starros commandeer Aphra’s ship from Triple Zero and BT-1, crash it into the Citadel, and join up with Luke and Aphra. Their escape is short lived as Aphra betrays Luke and turns him over to the Queen and her hypnotic powers.
Triple Zero and BT-1, Aphra’s murderous droids, assist Leia, Aphra, and Sana to further evade the Queen. To Leia’s horror, Triple Zero then implants a symbiote within an unconscious Black Krrsantan. This sends the Wookiee into a rage directed at the Queen’s guards as Doctor Aphra #7 concludes.
Animosity or Cover
Either Sana harbors a deep seated resentment for Aphra or she was covering for herself. Or, perhaps both. The Screaming Citadel #1 and earlier issues of Star Wars make clear that Sana and Aphra have a past. However it ended, it didn’t end well. Sana still has ill feelings towards Aphra to say the least. In addition, Aphra used Sana to learn where the Rebels were and then recruit Luke.
Sana no sooner steps off of Aphra’s ship after Han crashed it and she takes a shot at Aphra (side note: Sana uses an EE-3 carbine, which is the same blaster Boba Fett prefers). Luke deflected the blast with his saber. One might argue this was over personal rancor for whatever betrayal Aphra perpetrated in their history. Alternatively, Sana was covering herself. Sana gave Aphra sensitive information – the location of the Rebel base. When Leia realizes Luke went along with Aphra willingly, she asks how Aphra even knew where to find them. Ironically, despite the shot Sana took at her, Aphra covers for Sana. She says it was a lucky guess.
Despite coming around to working with the Rebellion, Sana is a dark character. As Star Wars fans learned in Rogue One, antiheroes weren’t necessarily uncommon in the Rebellion. The Rebellion exiled the true extremists such as Saw Gerrera. But, operatives with blood on their hands, such as Cassian Andor, still served. Sana might not be the true Rebel, but she fits Cassian’s mold.

Aphra’s Cunning
It is no secret that Gillen and Marvel took inspiration from Indiana Jones in creating Doctor Aphra. Lately Aphra resembles another iconic adventurer. Aphra’s primary concern is for herself. When the going gets tough in the Screaming Citadel, Aphra contacts the Queen and makes a bargain. This discussion follows a heart-to-heart conversation with Luke Skywalker about the Empire.
For Luke, the Empire is evil. At this point in his life, he sees the galaxy in black and white. As for Aphra, it isn’t that simple. She tells Luke the Empire isn’t for them. She believes that for “normal” people, any peace is better than war. Of course, her admonishment of Luke neglects the fact that the Empire slaughtered his aunt and uncle. She catches herself one second too late.
It is immaterial though. She opens a door to reveal the Queen. Next, the Queen mesmerizes Luke with her gaze (which is a new power for her). Despite Aphra’s shifting allegiances between the Empire and the Rebellion, in the end, Aphra is only on one side. Hers. It is not unlike Jack Sparrow from The Pirates of the Caribbean franchise. The question remains though, like the good Captain, will she do the right thing in the end?
Han Solo’s Bravado
Han Solo serves two purposes in this issue. The first is to crash Aphra’s ship and strand them all on Ktath’atn inside the Screaming Citadel with the Queen and her minions. There is no satisfactory explanation for this other than a misaligned thruster. It hardly seems like something that should prevent Han from landing a ship correctly. After all, he flew the Millennium Falcon through worse.
The next is to stand in as the dimwitted comic relief. After crashing Aphra’s ship, everyone stands around debating what to do next. That is everyone except Han. He simply points a thumb over his shoulder and suggests they flee from the Queen.
Han’s other purpose is proving he is too cocky for his own good. After Leia warns him about the Queen’s powers, he proclaims he need not worry about sorcery because he has a blaster. Naturally, he rounds the corner and immediately falls under the spell of the Queen. This seemed even too macho and arrogant for Han at this point. Although he didn’t believe in the Force, he witnessed some of its power in A New Hope. Even if he didn’t believe in sorcery, one would think he learned his lesson about carelessly attacking a foe with superior numbers.

Substitute Droids
R2-D2 and C-3PO remain missing. Threepio is in the hands of SCAR squadron, an elite Imperial unit. Artoo abandoned Luke and rushed off to rescue him. The Rebels haven’t heard from them since Star Wars #26. It now appears there is a story reason for their absence. They have substitutes.
Triple Zero and BT-1, Aphra’s murderous droids, play the role of droid sidekicks in this story arc. Leia and Han brought along Luke’s actual substitute astromech, R5-S4, as well. Adding Artoo and Threepio to this story is just superfluous.
Triple Zero and BT-1 truly are the bizarro versions of Artoo and Threepio. Even though Triple Zero functions as a protocol droid, he trades in fussiness for murderous intent. Where Threepio is courteous and the pinnacle of etiquette, Triple Zero spikes his protocol advice with efficiency and murderous intent. While Artoo might have been a tool box on a movable tripod, BT-1 is a movable arsenal. Both astromechs make use of an array of gadgets, but those gadgets are so very different in design and purpose.

The Danger of the Queen
Through the previous two installments of The Screaming Citadel, the Queen has unleashed various powers and minions on Luke, Aphra, and the people of Ktath,atn. In this book, Aphra summarizes nearly all her powers. First, the Queen controls her minions with the Aberysn symbiotes. Next, those symbiotes create a hive control system. This explains how the Queen could communicate with her servants wordlessly in Screaming Citadel #1.
The hive control system also conveys “energy up the pyramid.” Thus, there is the explanation for the energy the Queen and her servants “harvested” from the people of Kthah’atn. Furthermore, the Queen’s has been at this for at least a hundred years, which Aphra says is unprecedented.
The Queen’s menagerie, introduced at the conclusion of part II, appears in only one panel of this issue. Although Aphra fails to mention them, it is not unwarranted to speculate they are controlled by the symbiotes. Then, of course, the Queen debuted a new mind controlling power not reliant on the symbiotes at all. Her gaze was sufficient to conquer both Luke and Han. The Queen very much is the Count Dracula of Ktath’ahn.

Conclusion
Doctor Aphra #7 excels in explaining the powers of the Queen. It also does very well in expanding the relationship between Luke and Aphra. In fact, the two reach an understanding about the other’s world views just as Aphra betrays Luke. The pacing is good, and the plot elements develop quickly and efficiently. Very little dialogue or panel space is wasted on anything unnecessary to the plot. Despite that, real relationships are developed and explored in this issue and the series as a whole.
Where this issue falters is in its handling of Leia and Han. First, Han largely stumbles through this issue. His cockiness comes off as dimwittedness that results in his psychic enslavement. As for Leia, the way in which she speaks to Luke is out of character. She threatens him with a court martial and insults him in a manner normally reserved for Han. She redeems herself in taking to heart Triple Zero’s observations.
The situation with Wookiees and the Abersyn symbiotes is confusing. Prior to Luke and Aphra’s discovery in the prior issue, nobody knew the Queen had them. Yet, Chewbacca was left behind out of an abundance of caution. But, why? They knew it was “for the best,” but Han didn’t say why. The Doctor Aphra series made clear that these symbiotes were believed to be wiped out. Nobody should have suspected they were on Ktath’atn. Chewbacca was likely left behind to avoid a Wookiee redundancy and create a true crossover event, but the explanation could have been handled better.
Favorite Panel of Doctor Aphra #7
Typically, I select favorite panels for art that captures my attention. On occasion, a panel achieves a story telling point through the art alone. In other instances, the writer makes an insightful point that is worthy of highlight. For Doctor Aphra #7, I noticed that Leia learned a lesson from an unlikely source. Leia calls Triple Zero a monster and accuses him of barbarity for his actions concerning Black Krrsantan. Triple Zero then counters her accusation.
Triple Zero notes that he observed Leia interacting with Luke and Han. Furthermore, she is never happy with their performance or efficiency. In juxtaposition to their effectiveness, his own performance is 100% efficient. Therefore, he is somewhat stunned she isn’t more appreciative. The following panel demonstrates how the message sunk in. Triple Zero’s lecture is the favorite panel of Doctor Aphra #7.

Dennis Keithly is a graduate of the University of Missouri, North Texas attorney, husband, father of two, and co-host of Starships, Sabers, and Scoundrels. In addition to Star Wars, Dennis is a fan of science fiction, fantasy, and super heroes in general. When not engaged in fictional universes, Dennis is reading a good book or watching the NHL, football, or studying the NFL draft.