The fate of the Harbinger and the Rebels hangs in the balance in Star Wars #25.
Warning: This article contains spoilers for Star Wars #25.

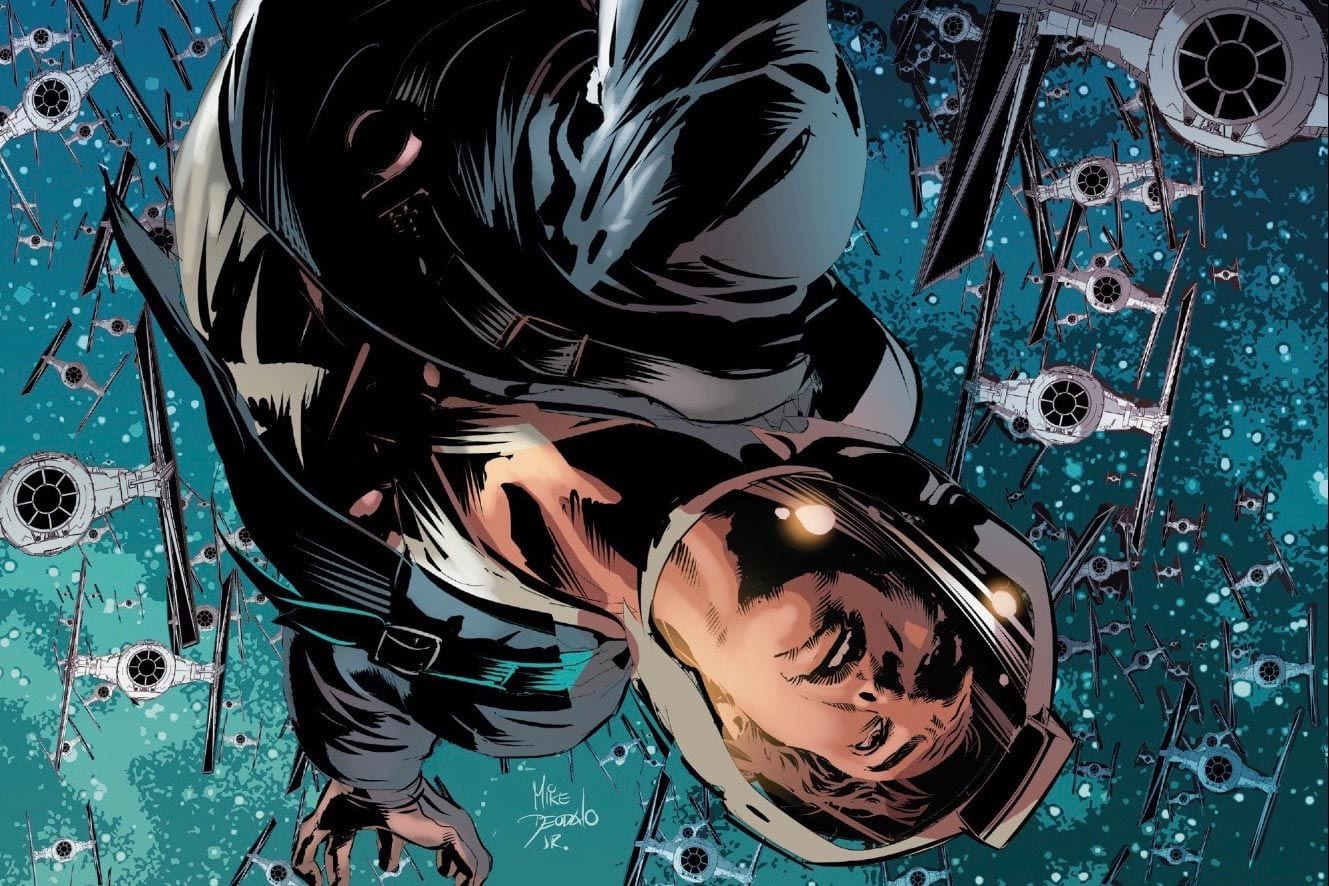
Star Wars #25
Writer: Jason Aaron | Artist: Jorge Molina | Colorist: Matt Milla | Letterer: VC’s Joe Caramagna | Cover: Mike Deodato & Rain Beredo | Assistant Editor: Heather Antos | Editor: Jordan D. White
The Final Flight of the Harbinger
Star Wars #25 concludes the “Last Flight of the Harbinger” story arc. The Rebels commandeered the Harbinger in a daring operation. Now, they break an Imperial blockade around Tureen VII and deliver relief supplies to the planet. However, Darth Vader and the Empire took notice. The SCAR squad, under the leadership of Sergeant Kreel, have infiltrated the Harbinger and act to reclaim the ship and defeat the Rebels. In the previous issue, Darth Vader entered the battle as the Harbinger arrived at Tureen VII and engaged the Imperial Fleet. Now, each of the Rebels fights to complete their mission and for their own survival.

The Plucky Droid
If there is an unsung hero in this issue, it is R2-D2. SCAR squad attempts to take control of the ship by slicing into the controls. However, Artoo engages the SCAR Squad and prevents them from taking control of the Harbinger. Although SCAR squad does not know who thwarts their efforts, they are suitably impressed. Their slicer remarks, “Whoever this guy is, I’d like to shake his hand. Then shoot him repeatedly in the face.”
Sana the Rebel
Sana Starros continues to integrate herself into the Rebel Alliance. She does her part defending the Harbinger from SCAR squad. She gets the drop on two of the troopers and jettisons one with an escape pod. While fighting the other invader, Sana remarks that the Rebels are all crazy. However, she adds that it is contagious after a while. Evidently, she is starting to identify with the Rebellion.
Not only does she identify for the Rebellion, she is prepared to sacrifice for it. Sana defeats her second adversary using a club he gave her. She jammed it in his jet pack then flushed him out the airlock. She nearly flew out the airlock herself, but Luke saves her. The notable thing is Luke wasn’t there when she opened the airlock. She didn’t know he would save her. Although, it is unclear how Luke avoided getting sucked out as well. Luke then restores power to the ion cannons.

The Jedi’s Power Grows
Prior to assisting Sana, Luke had a fight of his own. Sergeant Kreel challenged Luke with a lightsaber. After checking in on the battle from his TIE, Vader admonishes them both. Neither are skilled enough for such an endeavor in his opinion. Seemingly defeated by Kreel, Luke lashes out with a Force push. The power of the push shakes the entire ship. Luke’s use of the Force is powerful enough for Darth Vader to feel it in his TIE. This is another example of Luke’s growing power from this series. In issue six, Luke unwittingly called on the Force to defeat Boba Fett in a duel on Tatooine. His attack on Kreel is perhaps his greatest display of strength in the Force at this point in the timeline.
One of the benefits of resetting the Star Wars canon is the ability to show Luke’s growth in the Force. The saga films only had limited space to showcase his growth and abilities. Therefore, his progress from apprentice to Jedi Knight seems expedited in The Empire Strikes Back. It seems less so with the new canon material.
The Fight Aboard the Harbinger Rages On
Han and Leia guide the Star Destroyer to Tureen VII while under fire from stormtroopers. They have no cannons and are down one engine. They need to get clear of the blockade in order to launch the relief supplies to the planet. Meanwhile, Red Squadron, providing support for the Harbinger, is attempting to clear a lane. However, Darth Vader attacks. Also on board the Harbinger, Chewbacca fights another stormtrooper. He throws the trooper into a panel that luckily restores power to the entire ship. Leia then commands that all escape pods launch with the supplies and the remaining Rebels. Artoo manages to keep the Harbinger on course after the controls on the bridge go out.
The SCAR Squadron moves to phase two. They failed to retake the Harbinger. Now their mission is to destroy the ship. Kreel is pinned under some machinery after Luke’s Force push. In order to escape, he makes a grisly decision, and takes his own lightsaber to his pinned arm.

An Unconventional Exit
After all the sabotage and the invasion by SCAR squad, Leia has completed her mission. She delivered the relief supplies to Tureen VII. However, she finds herself trapped on the bridge with SCAR squad ready to take her down. She does have help though. Han uses a detonator to create an unconventional path out the window. They escape into the space outside the Harbinger as the bridge explodes.
Somehow Hand and Leia survive in space with only breath masks. They are unfazed by the void and cold. This seems odd given recent develops in Star Wars comics. In issue twenty-three, a Rebel admiral clearly died from exposure to the void. Luke and Sana found him frozen and strapped to the front of a shuttle. In Darth Vader #25, Dr. Aphra narrowly escaped death by the void through an elaborate back up plan. Yet, Han and Leia float comfortably in space. Regardless, the Millennium Falcon, with Sana at the controls rescues them.
Prior to Sana’s rescue, Han desperately attempted to shove Leia away from the Harbinger. He feared it would explode, and she would get caught in the blast. Leia had none of it. She refused to let Han go. Furthermore, she demanded to know why Han tried to save her at risk to his own life. Clearly, Han and Leia’s relationships is developing here.

Revenge of the Jedi
Luke proves to be a great asset to Red Squadron once he joins them in his X-Wing. The squadron had difficulties taking out the moon bases protecting Tureen VII. To their relief, Luke joins them and eliminates the bases quickly.
With that, the mission is concluded. However, Luke refuses to leave as long as Darth Vader remains. Whether Luke wants to eliminate Vader as a leader of the Empire or whether he seeks revenge is unanswered. Unlike his last dogfight with Vader, Luke opts for discretion. He responds to Leia’s commands him to stay on mission. Fortunately, Luke comes to his senses and retreats from the battle.
SCAR Squad’s Failure
After failing to capture the Rebels, SCAR squadron reports to Vader. He berates them for their failure to achieve any objective. The Rebels provided relief to Tureen VII, and more importantly, they gave them hope. Kreel responds that SCAR squadron will win next time. One has to give him credit; he owned his failure. When asked why there should be a next time, Kreel reveals his prize: C-3P0. He didn’t manage to escape with the Rebels after all.
Leave No Droid Behind
The Rebels abandoning Threepio to the Empire is simply terrible. Luke always looked out for the droids. Even Han begrudgingly looked out for Threepio in The Empire Strikes Back. Leaving Threepio behind seems callous. Nobody made much of an attempt to find out where Threepio was. Nobody seems to miss him yet either. Coincidentally, it is unclear whether Artoo made a rendezvous with the Rebels. My suspicion is that Artoo might play a role in retrieving Threepio if they have not. In addition, Luke makes a greater effort to track down Vader than he does to insure whether Artoo and Threepio, let alone the rest of the Rebels, got away safely. It seems very out of character.

Conclusion
Overall, “Last Flight of the Harbinger” was a good story arc. There was an unfortunate contest between Han Solo and Princess Leia in issue twenty-three that seemed out of character for both. However, the subsequent issues redeemed that story. For the most part, this is what fans should expect from a Star Wars story. Adventure and danger where the good guys ultimately prevail. Darth Vader continued his pursuit of Luke Skywalker. Furthermore, he was a menace to the Rebel forces at Tureen VII. The failure of the mission was not his responsibility. Vader was handled well.
Sergeant Kreel and SCAR squad make nice adversaries for the Rebels. These are villains worthy of Han, Luke, and Leia’s time. Their inclusion means that the Rebels have someone dangerous and worthy to fight going forward that isn’t Darth Vader or the usual rogues-gallery of Star Wars villains. One can only imagine that Kreel will be eager to settle a score with Luke after losing an arm.
Bonus content for Star Wars #25: Droid Dilemma
Created by Chris Eliopoulos & Jordie Bellaire
A bonus story appears at the end of Star Wars #25. This story is quite simple. Artoo rolls around arguing and fighting with droids after Luke ordered him to prepare his X-wing for a search mission. What is unclear is why he was fighting with all the droids. Were they in his way? It is a cute little story, but perhaps not worth the last third of this issue. It seemed more like a Sunday comic strip than anything and had no real implications for the larger story. That said, it was dedicated to the memory of Kenny Baker. Therefore, the indulgence can be appreciated for that reason.
Favorite Panel of Star Wars #25
The artwork consistently improved over this story arc. In issue twenty-two, the illustrations of Han, Leia, and Luke bore a resemblance to the characters from the movie. However, by the end of the series, they look much more like what a Star Wars fan would expect. Molina created fantastic art for the fights in this series. My favorite panel of this issue combined Leia’s drive and fighting spirit. Leia will sacrifice everything for the Rebellion. She prepared to do so in this issue. Still, she took the fight to the Empire on the bridge of the Harbinger while Han piloted the ship to Tureen VII. This is my favorite panel of Star Wars #25.

Dennis Keithly is a graduate of the University of Missouri, North Texas attorney, husband, father of two, and co-host of Starships, Sabers, and Scoundrels. In addition to Star Wars, Dennis is a fan of science fiction, fantasy, and super heroes in general. When not engaged in fictional universes, Dennis is reading a good book or watching the NHL, football, or studying the NFL draft.