Solo: A Star Wars Story #7 brings the successful comic adaptation of the film to its familiar conclusion as Han, Chewbacca, and the Millennium Falcon prepare for new adventures.
This article contains plot points for Solo #7.

Solo #7
Writer: Robbie Thompson | Artist: Will Sliney | Color Artist: Federico Blee | Letterer: VC’s Joe Cramagna | Cover Artist: Phil Noto | Assistant Editor: Tom Groneman | Editor: Mark Paniccia
Solo: A Star Wars Story #7 brings the comic adaptation of last year’s Star Wars film to a conclusion. In the closing pages of Solo #6, Han found himself at the mercy of Qi’ra and Dryden Vos after their confrontation over the coaxium on Dryden’s yacht. Solo #7 begins with Qi’ra betraying Dryden and then ends with Han rescuing Chewbacca from Beckett and winning the Millennium Falcon from Lando in a rematch from their earlier sabacc game. Even those this issue only features minimal new material, Solo #7 concludes a successful adaptation of the film.
Dramatic Reveal
As many viewers of the film know, the conclusion of Solo: A Star Wars Story included a dramatic reveal: Darth Maul was the leader of the criminal syndicate, Crimson Dawn. Just as in the film, Solo #7 provides the surprise reveal of one of Star Wars’s most famous villains. Once Dryden is dead, Qi’ra sends Han after Beckett to rescue Chewbacca. Just as in the film, she then steals Dryden’s ring and makes contact with Maul. The reveal in the movie lead to some confusion for Star Wars fans unfamiliar with Maul’s history in The Clone Wars and Rebels after watching Maul get sliced in half in The Phantom Menace. Solo #7 does little to dispel any such confusion. Maul is revealed inside of two panels with little room for explanation. Considering that many comic readers also watch the Star Wars animated offerings, this is less likely a source of confusion.

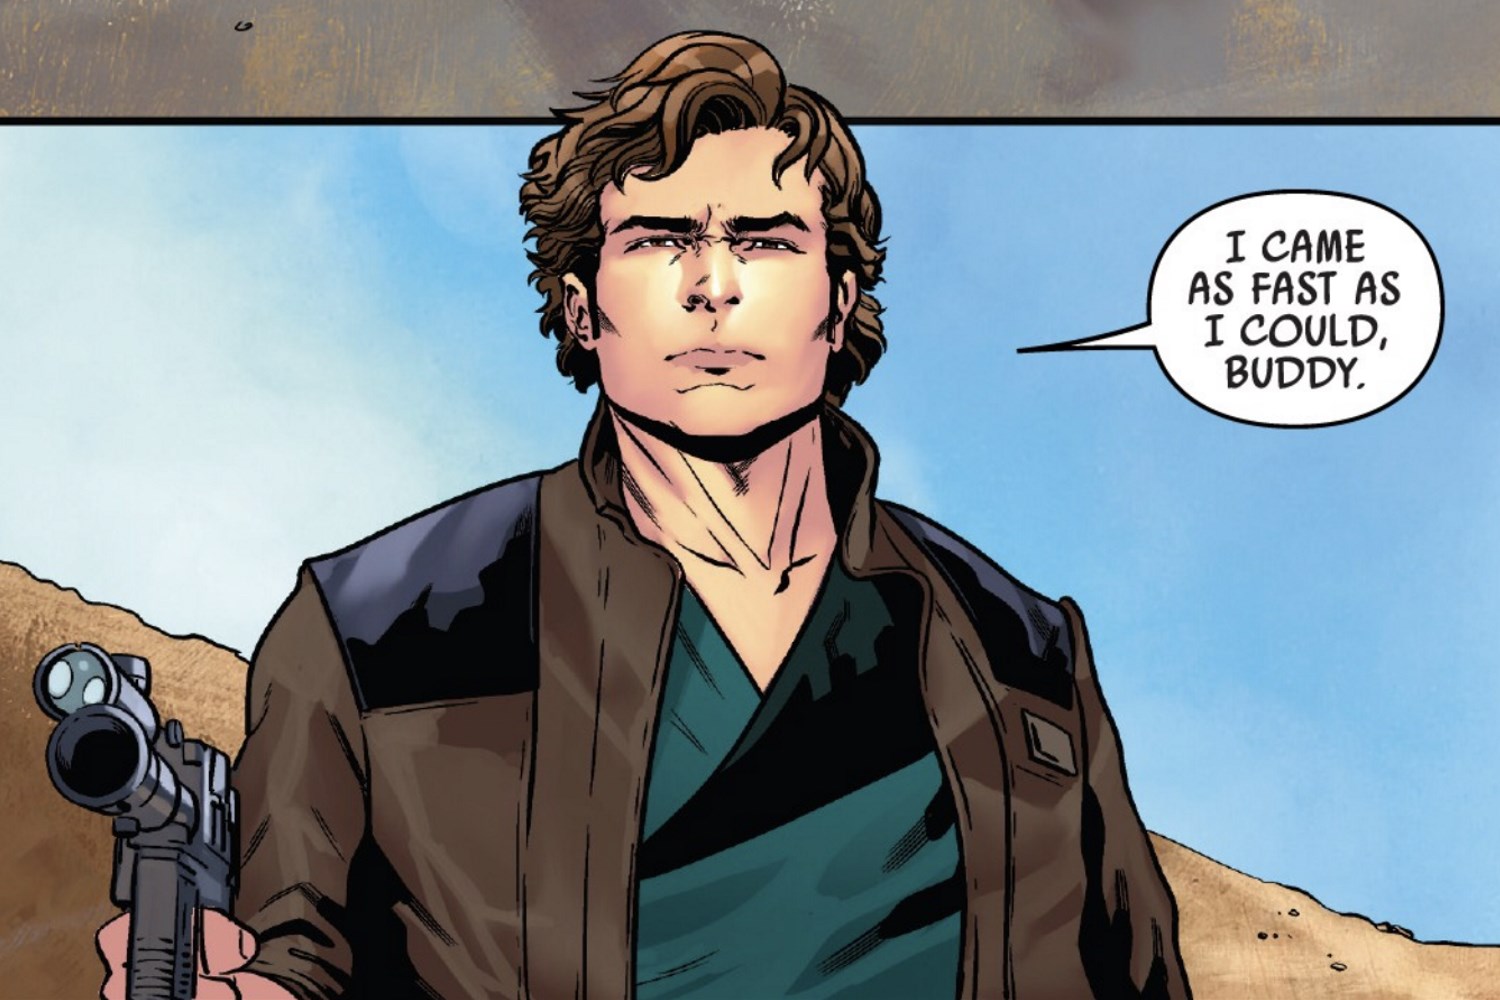
Capturing the Essence of a Gun Fight
Writer Robbie Thompson and artist Will Sliney did a wonderful job capturing the standoff between Han and Beckett. The pacing of the panels in which Han confronts Beckett and then shoots first while Beckett is trying to distract Han is perfect. There is a balance between the panel featuring Han’s arrival with blaster drawn, their brief conversation, and Beckett’s final lesson before Han shoots him. This page of Solo #7 was well planned and beautifully executed.
The Further Adventures of Han and Chewbacca
Once Han and Chewbacca turn over the coaxium to Enfys Nest and receive a reward, they are on their own. The film left the story of their travel to Numidian Prime and rematch with Lando in another game of Sabacc untold. However, Solo #7 offers some brief clues as to their adventures. The most iconic smuggling partners in Star Wars are seen avoiding thugs, slicing into cargo, flying a speeder, and fighting off ruffians. What exactly happened during their adventures is left unsaid, but it didn’t need to be. The reader is left to use their imagination to fill in the blanks across four pages on a single page. The overall effect is that the reader knows Han and Chewbacca became solid partners with several adventures before they ever owned the Falcon.

To Catch a Cheat
After their many adventures, Solo #7 finally gets to the climactic card game between Han and Lando with ownership of the Falcon at stake. Thompson and Sliney elected to add a few elements to this scene. As in the film, Lando was relying on a card hidden up his sleeve for a winner-take-all hand with Han. The film relied on a funny look from Lando when the card wasn’t there and Han’s confident reveal to get the point across to the viewer that Lando was in fact cheating.
The comic adaptation simply couldn’t rely on that. Lando’s distress didn’t last long in the film, but it was more than a panel without exposition could convey. Therefore, Solo #7 includes a couple of panels subtly displaying the card up Lando’s sleeve and Han noticing it there. Two pages and a half-dozen panels later, the point really comes across when Lando attempts to retrieve the card and it isn’t there because Han stole it from him. Nicely done.
Final Thoughts on Solo #7
Solo #7 brings one of the more fun comic adaptations of a Star Wars movie to a close. Over the course of the series, Thompson relied on just enough new material to keep the story fresh and interesting without altering the tale. Thompson also kept it fun. Despite some heavy moments, Solo: A Star Wars Story was one of the lighter, if not the lightest, Star Wars movies in tone to date. The adventure took precedence. That was preserved in this mini-series. Solo also had the advantage of seven issues to tell the tale. With the extra space, Thompson and Sliney maintained a near perfect pace to preserve the feel of the film. This is an adaptation very worthy of the time of the reader.
Dennis Keithly is a graduate of the University of Missouri, North Texas attorney, husband, father of two, and co-host of Starships, Sabers, and Scoundrels. In addition to Star Wars, Dennis is a fan of science fiction, fantasy, and super heroes in general. When not engaged in fictional universes, Dennis is reading a good book or watching the NHL, football, or studying the NFL draft.